Quantum Leap: Programming Quantum Computers with Qiskit and Cirq
Womanium Global Quantum Project 2023 Article Series: Article #3
As the age of quantum computing dawns upon us, the world of programming is taking a quantum leap of its own. With the advent of platforms like Qiskit and Cirq, programming quantum computers is no longer the realm of physicists alone. In this article, we’ll embark on a journey to demystify quantum programming, walking you through the process of building your very first quantum circuit. Whether you’re a seasoned developer or a curious beginner, get ready to unravel the magic of quantum computation through code.
Programming Quantum Computers: An Overview
Quantum programming might seem daunting, but it’s built on familiar foundations. Just as classical computers use bits, quantum computers leverage qubits as their basic units of information. And much like classical logic gates, quantum gates manipulate qubits to perform computations. We’ll explore this using two popular quantum programming frameworks: Qiskit and Cirq.
Getting Started with Qiskit
Let’s dive into creating your first quantum circuit using Qiskit — an open-source quantum computing framework developed by IBM.
Step 1: Setting Up
- Create an IBMid: If you don’t already have an IBMid (IBM account), you’ll need to create one. Go to the IBM Quantum Experience website: https://quantum-computing.ibm.com/ and click on “Sign in” at the top right. You’ll be prompted to create an IBMid if you don’t have one.
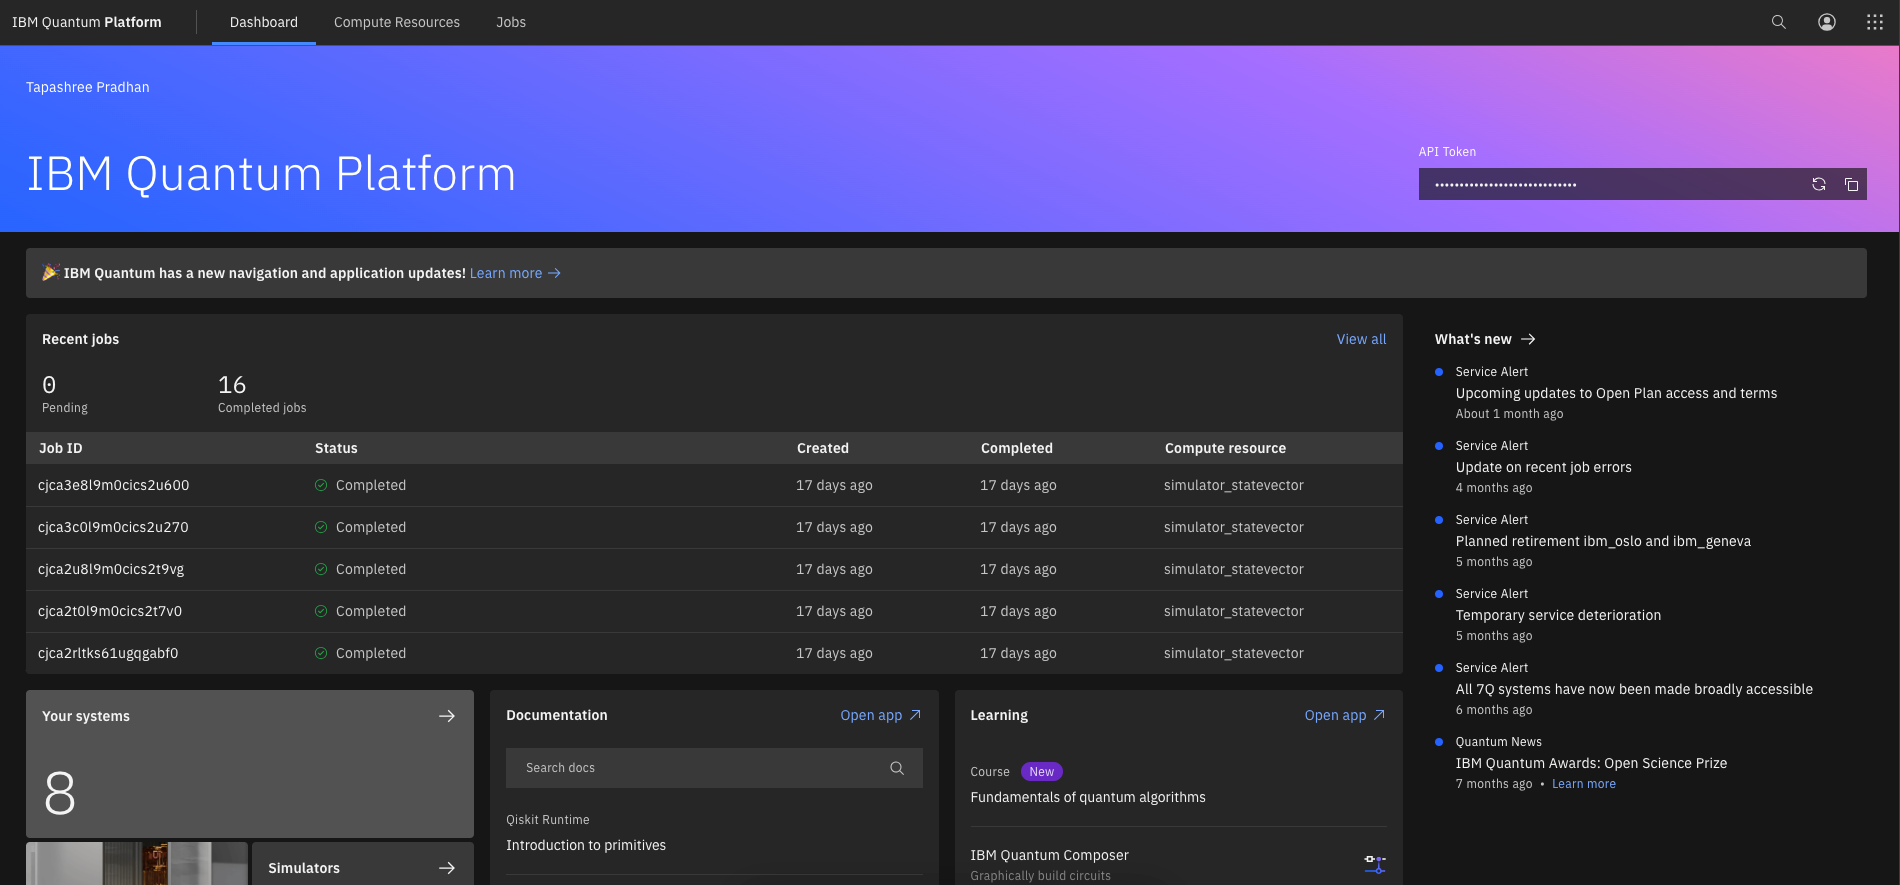
- Access IBM Quantum Experience: After creating your IBMid and signing in, you’ll be directed to the IBM Quantum Experience dashboard.
- Explore the Dashboard: Take a moment to explore the dashboard. Here, you’ll find various tools, resources, and options for working with quantum circuits and simulations.
- Access Quantum Computers: To access real quantum computers, click on the “Quantum Lab” tab on the left sidebar. This is where you can run your quantum circuits on IBM’s real quantum devices.
Alternatively, you can have Python and Qiskit installed on your local device. Open your terminal and run:
pip install qiskitStep 2: Building the Quantum Circuit
from qiskit import QuantumCircuit, execute, Aer

# Create a quantum circuit with 2 qubits
circuit = QuantumCircuit(2, 2)

# Apply a Hadamard gate to the first qubit
circuit.h(0)

# Apply a CNOT gate between the first and second qubits
circuit.cx(0, 1)

# Measure both qubits
circuit.measure([0, 1], [0, 1])

# Draw the circuit
circuit.draw()
Step 3: Running on a Simulator
simulator = Aer.get_backend('qasm_simulator')
job = execute(circuit, simulator, shots=1024)
result = job.result()

counts = result.get_counts()
print(counts)
Great!
Cirq: Tinkering with Quantum Gates
Now, let’s explore the quantum realm using Cirq — an open-source framework by Google.
Step 1: Setting Up
- Access Google Colab: Open your web browser and navigate to Google Colab by visiting this URL: https://colab.research.google.com/. You’ll need to be signed in with your Google account.
- Create a New Notebook: On the Google Colab homepage, click on “New Notebook” or go to “File” > “New Notebook” in the menu bar.
- Choose a Runtime Type: A pop-up window will appear, allowing you to choose a runtime type. You can choose between “Python 3” or “Python 2” as your runtime. Additionally, you can choose between “CPU” and “GPU” for hardware acceleration. For most tasks, “Python 3” with “CPU” should suffice.
- Start Writing Code: Once your new notebook is created, you’ll see an empty code cell. You can start writing and executing Python code in this cell. To execute the code, click the “Play” button on the left side of the cell or press
Shift + Enter. - Add and Execute New Cells: You can add new code cells by clicking the
+ Codebutton above the notebook or by pressingCtrl + Mfollowed byB. To add a text cell, click the+ Textbutton or pressCtrl + Mfollowed byM. Execute code cells in the order you want by running them one after another. - Install Cirq on the notebook by running the following in a code cell:
!pip install cirq
Step 2: Creating Your Circuit
import cirq

# Create a circuit
circuit = cirq.Circuit()

# Define qubits
q0 = cirq.LineQubit(0)
q1 = cirq.LineQubit(1)

# Apply Hadamard gate to qubit 0
circuit.append(cirq.H(q0))

# Apply CNOT gate between qubit 0 and 1
circuit.append(cirq.CNOT(q0, q1))

# Measure qubits
circuit.append(cirq.measure(q0, key='q0'))
circuit.append(cirq.measure(q1, key='q1'))

print(circuit)
Step 3: Running the Circuit
simulator = cirq.Simulator()
result = simulator.run(circuit, repetitions=1024)

print(result.histogram(key='q0'))
print(result.histogram(key='q1'))
Bringing it All Together: Your Quantum Circuit in Action
Congratulations! You’ve just programmed your first quantum circuit using both Qiskit and Cirq. The code examples above showcase the creation of a simple quantum circuit consisting of qubit manipulation and measurements. By running these circuits on simulators, you’re simulating quantum behavior in a controlled environment.
Conclusion: Unveiling Quantum Possibilities through Code
Quantum programming, once reserved for the elite, is now accessible to curious minds like yours. Through Qiskit and Cirq, you’ve embarked on a journey to explore the power and potential of quantum computation. As you continue your quantum programming adventure, remember that these frameworks offer a gateway to innovation — from optimizing complex problems to revolutionizing cryptography. So, harness the power of qubits and quantum gates!
Thanks for reading! Check out the next article of this series where I go over Quantum Hardware andQuantum Software!
You are welcome to always connect with me over LinkedIn and maybe suggest improvements or brainstorm ideas :)